- Home
- Product Categories
- LilyPad
- LilyPad RGB LED

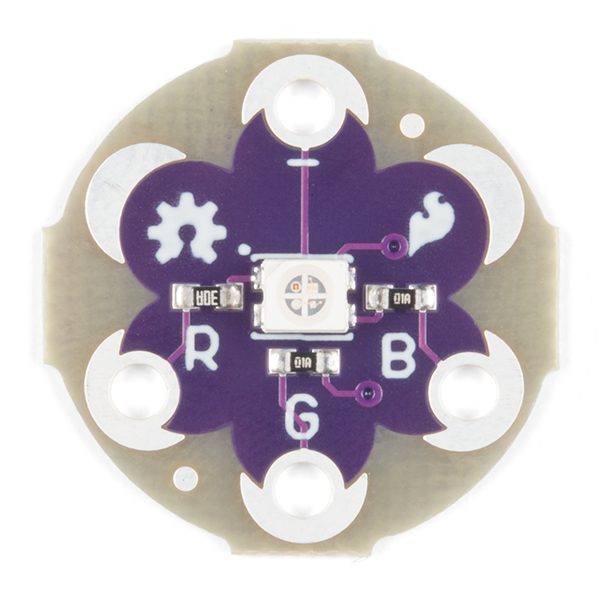
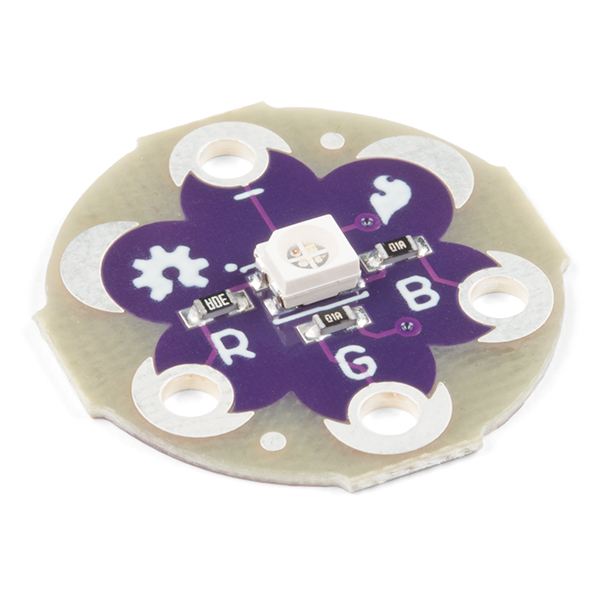
Blink any color you need! Use the LilyPad RGB LED board as a simple indicator, or by pulsing the red, green, and blue channels, you can produce a broad variety of colors. Each of the colors in the RGB LED are connected to one of the sew tabs on the board labeled R, G, and B.
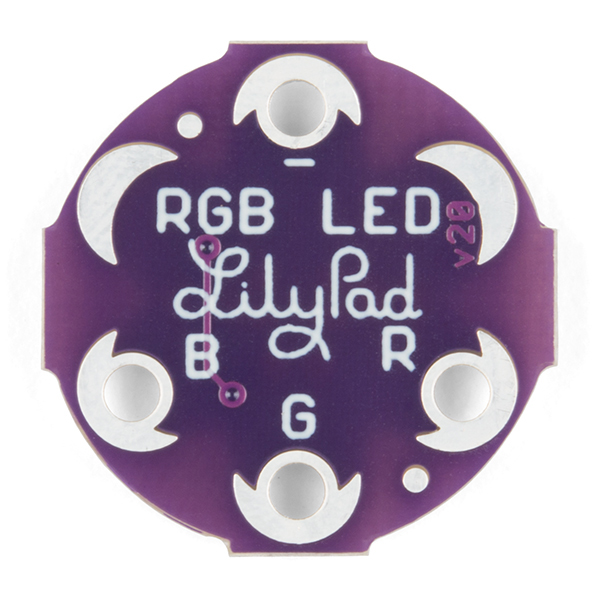
The color channels on this RGB LED are all connected through a common cathode (negative) pin. We have updated our design to this configuration so that the individual red, green, and blue LEDs now share a common ground tab. To light up each color individual LED, connect them each to a power source. For simple circuit hookups, this means you need to connect the R, G, or B sew tabs to power (+) and in code set them to HIGH (for digital output) or 255 (for analog output) to turn them on.
LilyPad is a wearable technology developed by Leah Buechley and cooperatively designed by Leah and SparkFun. Each LilyPad was creatively designed to have large connecting pads to allow them to be sewn into clothing. Various input, output, power, and sensor boards are available. They're even washable!
Note: A portion of this sale is given back to Dr. Leah Buechley for continued development and education of e-textiles.
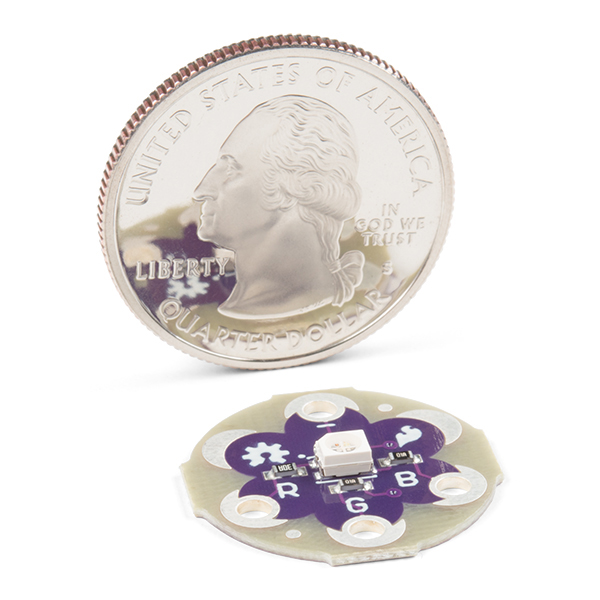
- 20mm outer diameter
- Thin 0.8mm PCB
LilyPad RGB LED Product Help and Resources
LilyPad RGB LED Hookup Guide
July 18, 2019
Learn how to hook up the LilyPad RGB LED and use a common cathode RGB LED in e-textile projects.
Non-Addressable RGB LED Strip Hookup Guide
February 19, 2020
Add color to your projects with non-addressable LED strips! These are perfect if you want to control and power the entire strip with one color for your props, car, fish tank, room, wall, or perhaps under cabinet lighting in your home.
Core Skill: DIY
Whether it's for assembling a kit, hacking an enclosure, or creating your own parts; the DIY skill is all about knowing how to use tools and the techniques associated with them.
Skill Level: Noob - Basic assembly is required. You may need to provide your own basic tools like a screwdriver, hammer or scissors. Power tools or custom parts are not required. Instructions will be included and easy to follow. Sewing may be required, but only with included patterns.
See all skill levels
Core Skill: Electrical Prototyping
If it requires power, you need to know how much, what all the pins do, and how to hook it up. You may need to reference datasheets, schematics, and know the ins and outs of electronics.
Skill Level: Rookie - You may be required to know a bit more about the component, such as orientation, or how to hook it up, in addition to power requirements. You will need to understand polarized components.
See all skill levels
Comments
Looking for answers to technical questions?
We welcome your comments and suggestions below. However, if you are looking for solutions to technical questions please see our Technical Assistance page.
Customer Reviews
No reviews yet.