- Home
- Product Categories
- RFID Kits
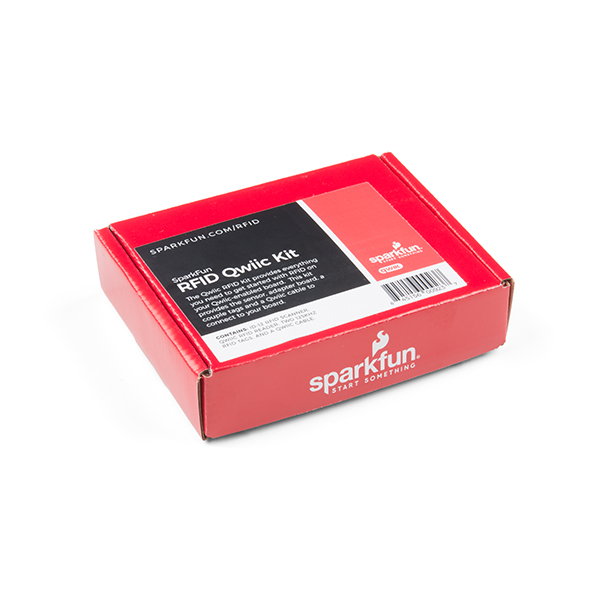
- SparkFun RFID Qwiic Kit

SparkFun RFID Qwiic Kit
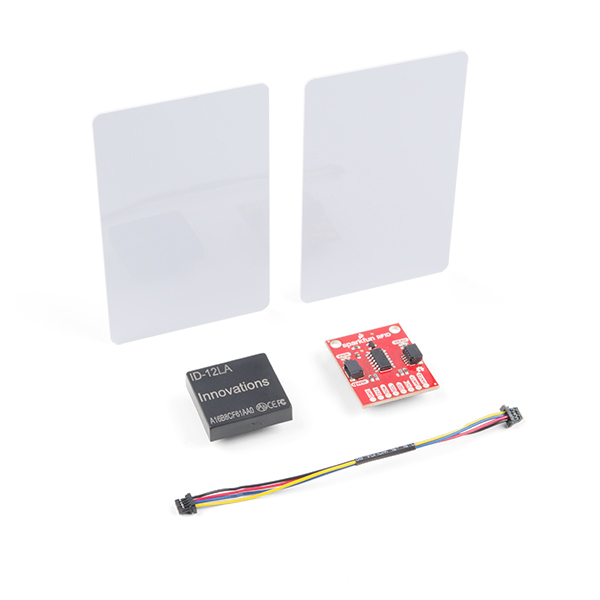
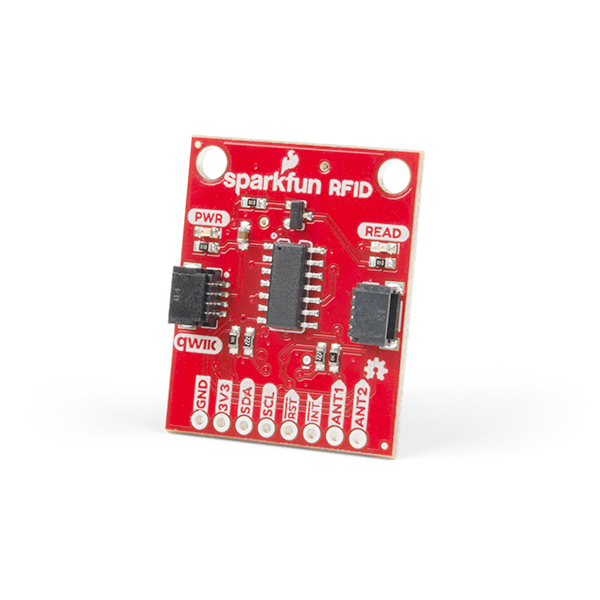
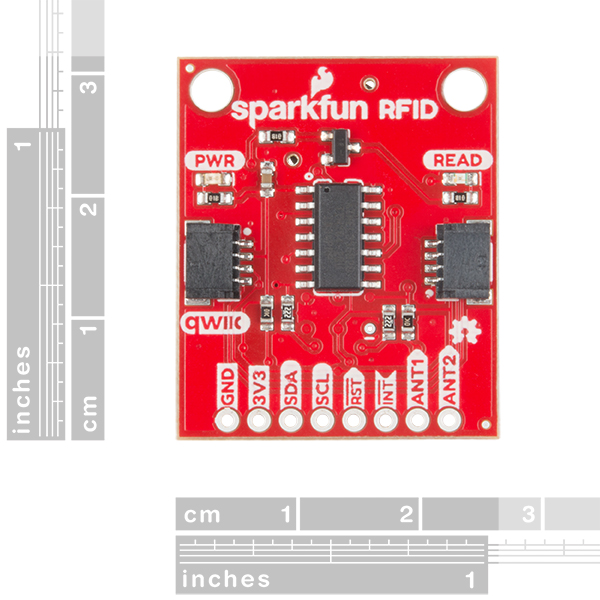
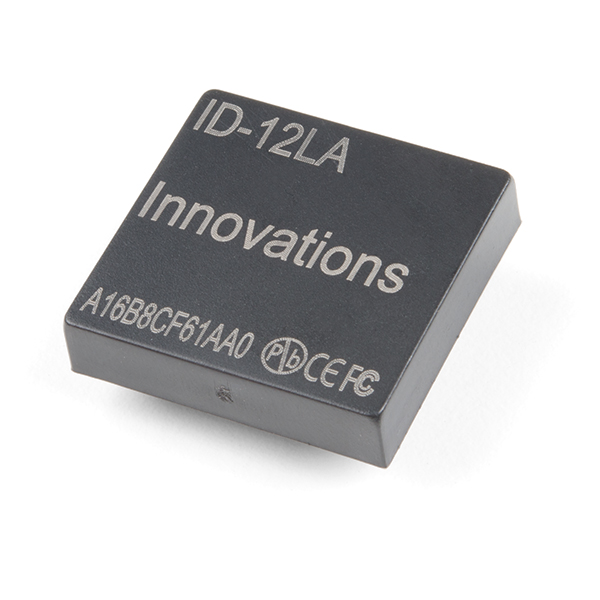
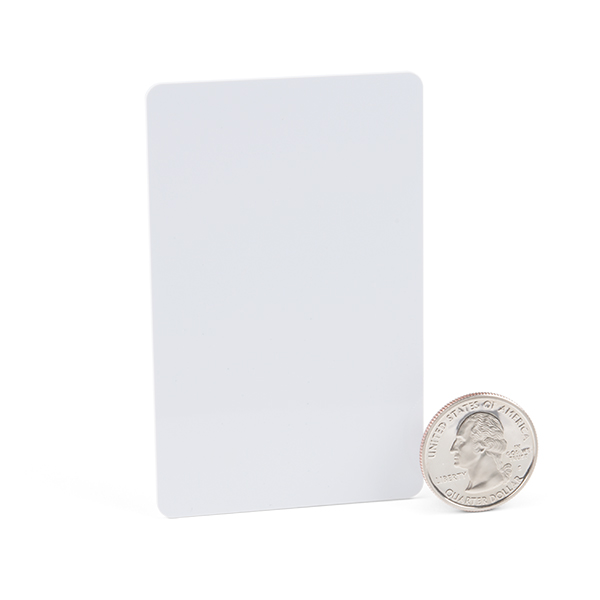
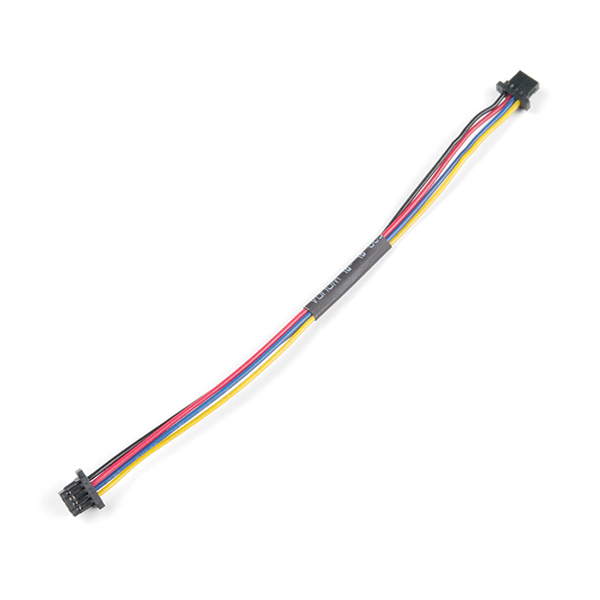
The SparkFun RFID Qwiic Kit is a simple, yet all-in-one I2C based RFID starting point for the ID-3LA, ID-12LA, and ID-20LA readers. Simply plug a reader into the headers and use a Qwiic cable to connect to any Qwiic enabled development board, then scan your 125kHz ID tag and the unique 32-bit ID will be shown on the screen. This kit comes with everything you need to get started. The SparkFun RFID Qwiic Reader, an ID-12LA reader, a couple of RFID cards, and a cable to get you hooked up. Just plug this into any Qwiic enabled development board and you are good to go.
Utilizing the onboard ATtiny84A, the Qwiic RFID takes the six byte ID tag of your 125kHz RFID card, attaches a time stamp to it, and puts it onto a stack that holds up to 20 unique RFID scans at a time. This information is easy to get at with some simple I2C commands. The unit comes with a read LED and buzzer, but don't worry, there is a jumper you can cut to disable the buzzer if you want.
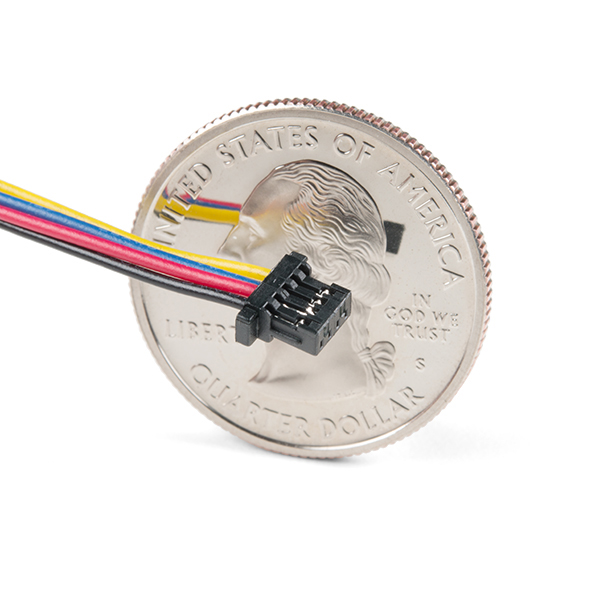
The SparkFun Qwiic Connect System is an ecosystem of I2C sensors, actuators, shields and cables that make prototyping faster and less prone to error. All Qwiic-enabled boards use a common 1mm pitch, 4-pin JST connector. This reduces the amount of required PCB space, and polarized connections mean you can’t hook it up wrong.
SparkFun RFID Qwiic Kit Product Help and Resources
SparkFun Qwiic RFID-IDXXLA Hookup Guide
March 14, 2019
The Qwiic RFID ID-XXLA is an I2C solution that pairs with the ID-LA modules: ID-3LA, the ID-12LA, or the ID-20LA, and utilizes 125kHz RFID chips. Let's take a look at the hardware used for this tutorial.
Build a Qwiic Jukebox that is Toddler Approved!
March 29, 2019
Follow this tutorial to build your own custom jukebox. Note, this is designed simple and tough for use primarily with toddlers. It's also a great introduction to SparkFun's Qwiic products!
Core Skill: Programming
If a board needs code or communicates somehow, you're going to need to know how to program or interface with it. The programming skill is all about communication and code.
Skill Level: Rookie - You will need a better fundamental understand of what code is, and how it works. You will be using beginner-level software and development tools like Arduino. You will be dealing directly with code, but numerous examples and libraries are available. Sensors or shields will communicate with serial or TTL.
See all skill levels
Core Skill: Electrical Prototyping
If it requires power, you need to know how much, what all the pins do, and how to hook it up. You may need to reference datasheets, schematics, and know the ins and outs of electronics.
Skill Level: Rookie - You may be required to know a bit more about the component, such as orientation, or how to hook it up, in addition to power requirements. You will need to understand polarized components.
See all skill levels
Comments
Looking for answers to technical questions?
We welcome your comments and suggestions below. However, if you are looking for solutions to technical questions please see our Technical Assistance page.
Customer Reviews
3.7 out of 5
Based on 3 ratings:
Plug and play in minutes
I received the kit, which i also ordered a USB part as well, so to get the fastest results for testing it out, I just hooked it up to my laptop (Macbook Pro) and away it went! After just a bit of studying (i could’ve have probably skipped this and winged it), i was successfully scanning the glass capsules that i also ordered with the kit. my main experiment was to test scanning this type of RFID tag, while inside a plastic object. The goal was to confirm that efficacy of scanning, and what the range would end up being. i found that scanning worked flawlessly when the object was not more than about a half inch from the top of the sensor package. this is the ideal arrangement for the intended purpose. Basically within ten minutes, i had confirmed what i suspected. Great kit! The qwiic system is very handy!
Works like a charm
The reading distance is impressive. It works good. Only thing I would like is to know if card is present on reader or not. Not only Id of the last card, but detection if it is still there.
0 of 1 found this helpful:
2 different units Doen't work.
First, I purchased the Rfid kit, but couldn't get the i2c to work on a pi zero, so I bought another, same problem. Along the way I rebuilt the daughter board, changed pi's, still no luck. I placed a trouble ticket with your people, but besides telling me to soldier the i2c pads together ?? , and suggesting that I switch to an arduino, not a whole lot of help. I think that they said they did their development for this board using the arduino, even though you published python drivers, which indictate to me that this might have been tested on the raspi. I found a cheap Rfid shIeld at Amazon that i expect tomorrow to see if it works. This is for trouble shooting, $5 amazon verses 2x $40 at Spark
I have an i2c display that does work on these boards.
Rick Mason
Is the 4-6" scan range independent of the module used?
Looking at what it says in the tutorial, no. The different modules have various scan ranges.