- Home
- Product Categories
- Arduino Boards
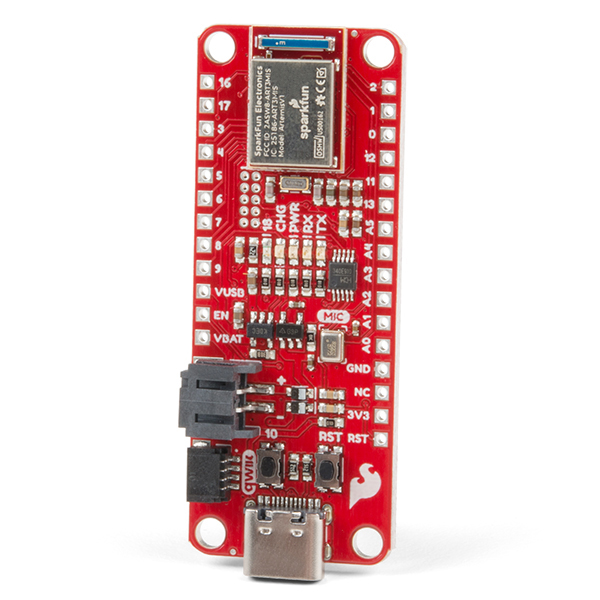
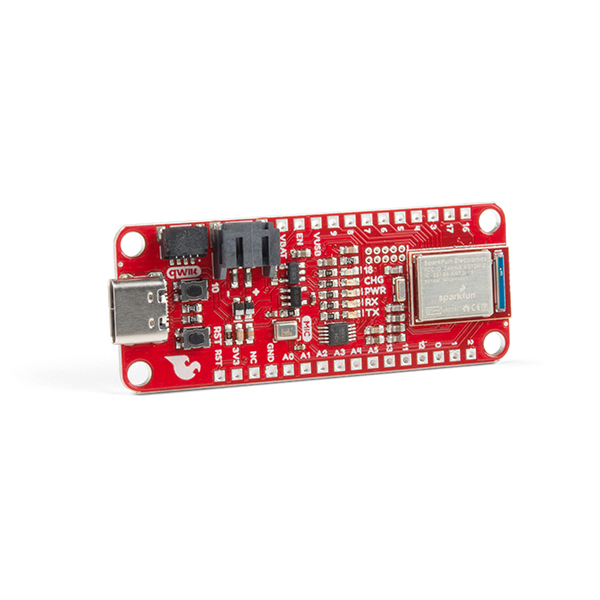
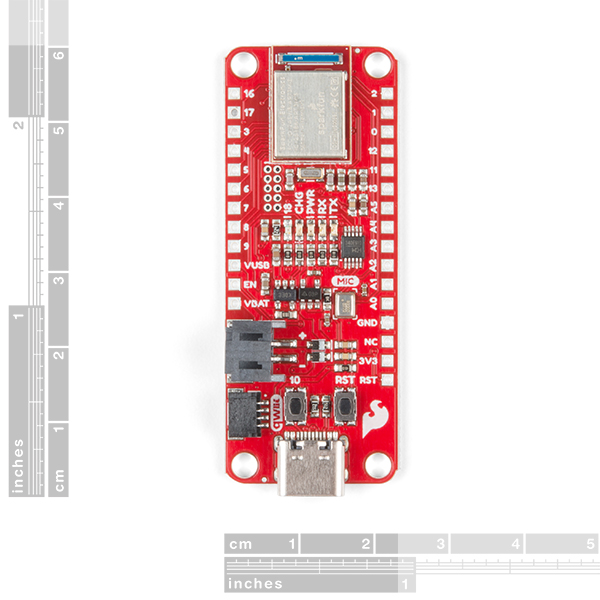
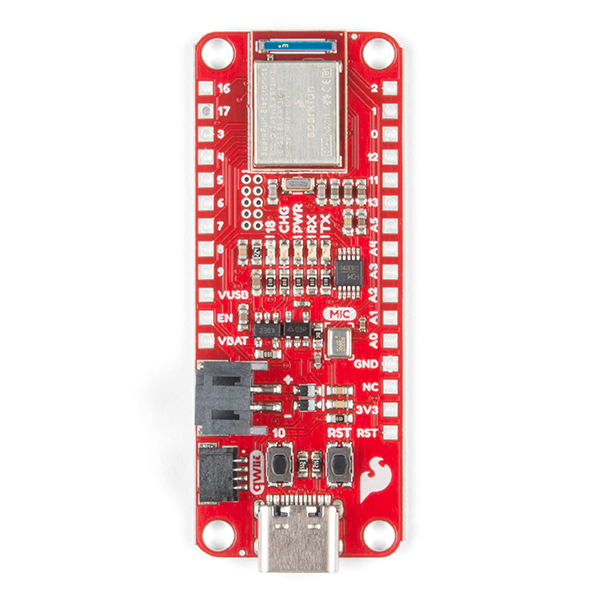
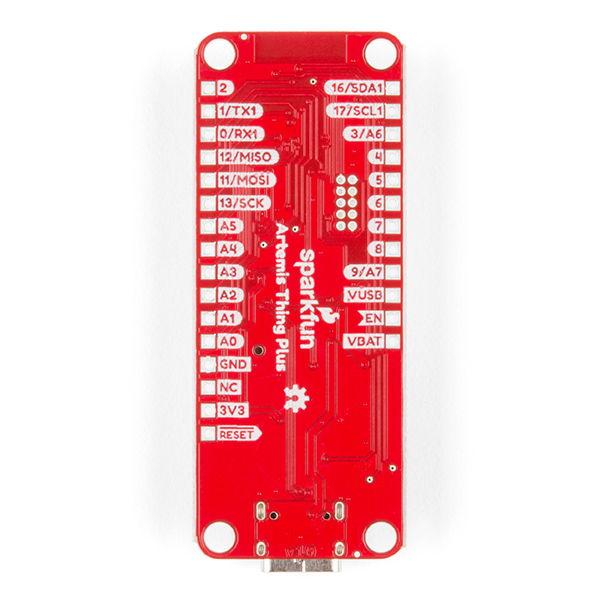
- SparkFun Thing Plus - Artemis

SparkFun Thing Plus - Artemis
If you are looking for a board that (almost) does it all, look no further! The SparkFun Artemis Thing Plus takes our popular Thing Plus footprint and adds in the powerful Artemis module for ultimate functionality. Fully compatible with SparkFun's Arduino core, the modern USB-C connector makes it easy to program under the Arduino IDE but for more advanced users who prefer to use the power and speed of professional tools, we've also exposed the JTAG connector. To make the Thing Plus even easier to use, we've moved a few pins around to make the board Feather compatible and it utilizes our handy Qwiic Connect System which means no soldering or shields are required to connect it to the rest of your system!
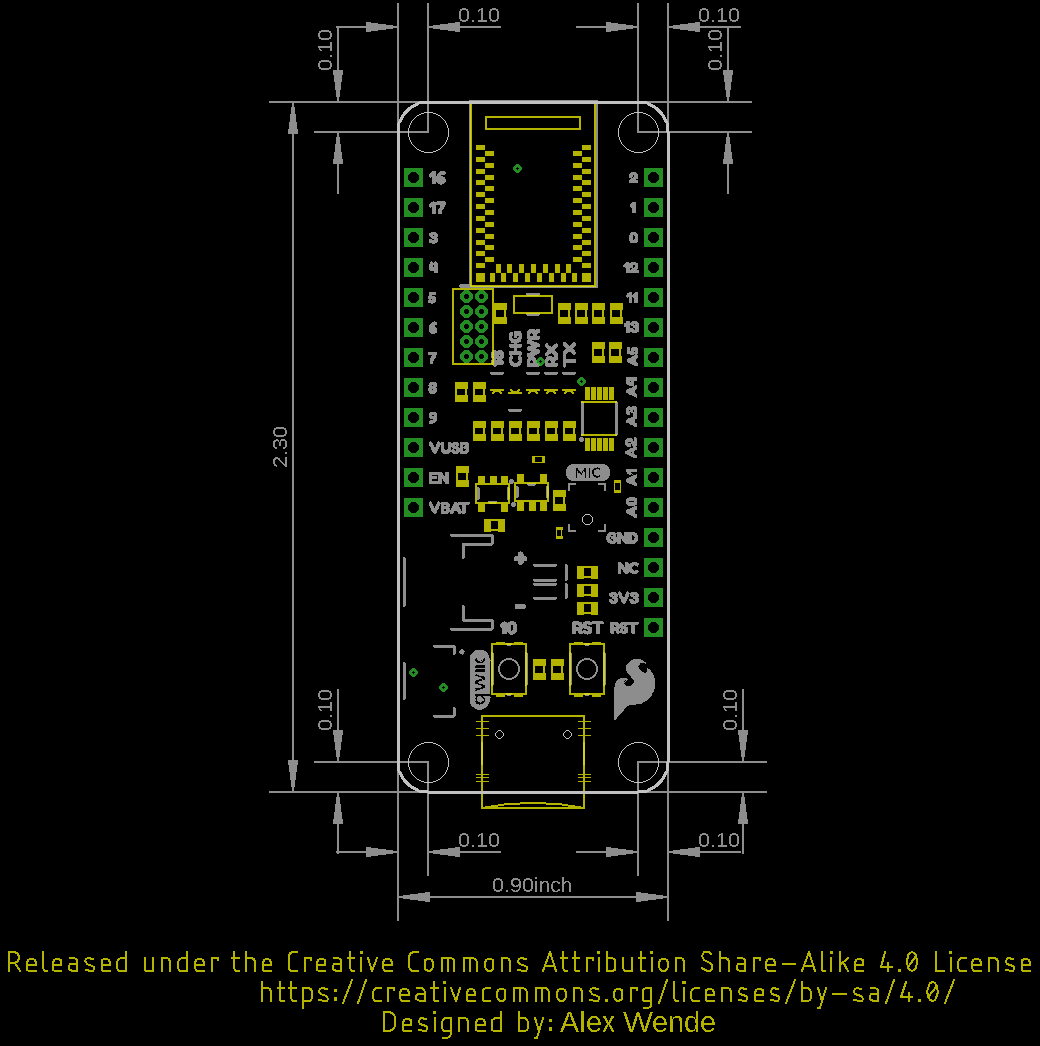
With 1MB flash and 384k RAM you'll have plenty of room for your sketches. The on-board Artemis module runs at 48MHz with a 96MHz turbo mode available and with Bluetooth to boot! We've added a digital MEMS microphone for folks wanting to experiment with always-on voice commands with TensorFlow and machine learning. The addition of the Qwiic connector opens up plug-and-play I2C functionality with our wide array of Qwiic boards.
With so much functionality, the SparkFun Artemis Thing Plus is an ideal choice for your Internet of Things project. We've even made it Feather-compatible so you can take advantage of a shield option in case you didn't want to use our Qwiic Connect System! If you need more Apollo3 functionality or a more concise form factor, check out our Artemis ATP or Artemis Nano.
- Feather Footprint
- 1M Flash / 384k RAM
- 48MHz / 96MHz turbo available
- 21 GPIO Pins - all interrupt capable
- 21 PWM Channels
- Built in BLE radio
- 8 ADC channels with 14-bit precision
- 2 I2C buses
- 1 SPI bus
- 2 UARTs
- PDM Digital Microphone
- I2S Interface
- Qwiic Connector
SparkFun Thing Plus - Artemis Product Help and Resources
Artemis Development on Arm® Mbed™ OS (Beta)
September 10, 2020
With the latest Artemis DK, board, we now offer full Bluetooth support within the Arduino IDE and development with Mbed™ OS. While we have worked tirelessly to get the Artemis module supported in the next Mbed™ OS release, the next release isn't slated until after the Artemis DK becomes available to the public. Therefore, this post will provide users with a jump start for developing with Mbed™ Studio, prior to the next release (in a beta of sorts), by utilizing our fork of Mbed™ OS.
Artemis Development with the Arduino IDE
September 10, 2020
This is an in-depth guide on developing in the Arduino IDE for the Artemis module and any Artemis microcontroller development board. Inside, users will find setup instructions and simple examples from blinking an LED and taking ADC measurements; to more complex features like BLE and I2C.
Hookup Guide for the SparkFun Artemis Thing Plus
September 19, 2019
Get started with our SparkFun Artemis Thing Plus - our popular Thing Plus footprint with the powerful Artemis module for ultimate functionality.
SparkFun Qwiic Shield for Thing Plus Hookup Guide
January 30, 2020
A short guide for assembling and using the SparkFun Qwiic Shield for Thing Plus.
SparkFun Qwiic Shield for Teensy Hookup Guide
October 15, 2020
A short guide for assembling and using the SparkFun Qwiic Shield for Teensy and Qwiic Shield for Teensy Extended.
Thing Plus Dual-Port Logging Shield Hookup Guide
June 16, 2022
This tutorial shows you how to hook up and use the SparkFun Thing Plus Dual-Port Logging Shield.
Core Skill: Programming
If a board needs code or communicates somehow, you're going to need to know how to program or interface with it. The programming skill is all about communication and code.
Skill Level: Rookie - You will need a better fundamental understand of what code is, and how it works. You will be using beginner-level software and development tools like Arduino. You will be dealing directly with code, but numerous examples and libraries are available. Sensors or shields will communicate with serial or TTL.
See all skill levels
Core Skill: Electrical Prototyping
If it requires power, you need to know how much, what all the pins do, and how to hook it up. You may need to reference datasheets, schematics, and know the ins and outs of electronics.
Skill Level: Rookie - You may be required to know a bit more about the component, such as orientation, or how to hook it up, in addition to power requirements. You will need to understand polarized components.
See all skill levels
Comments
Looking for answers to technical questions?
We welcome your comments and suggestions below. However, if you are looking for solutions to technical questions please see our Technical Assistance page.
Customer Reviews
5 out of 5
Based on 1 ratings:
Using the Artemis thing plus to build an Applanix GPS emulator using the generic Sparkfun GPS U-Blox ZED-F9R. Saving "a lot" of troubles as we can keep using the old datalogger that won't start to work until it receive the $UTC Applanix message on a regular basis.
See the Arduino code on github : https://github.com/Bruno-Dionne/NMEA_ZDA_TO_UTC.
I thought this would be great for a project I'm doing trying to fix a broken clock with a quartz movement. The problem is the chimes are run by a trigger from the movement. Since this can only wake up from the internal timer it can't use and external signal. That limits it's use to timer functions only.
You might look into a new version that can use either the internal timer or a wake up pin like the ESP32.
Unfortunately not compliant with the Feather outline recommendations. Specifically to quote the spec:
"If you are making a Feather main-board, we don't recommend going any wider, or adding space on the 'left side' where the USB port is. If you do go wider, or add space, make the USB side (the left two holes, and the breakout pins with-respect-to bottom left corner) the same."
This board adds space on the "left side" where the USB port is and does not fit into the enclosures we use with Feather modules.
Given the impressive quiescent draw the Artemis can achieve (2.5 μA), it would be great to see the next revision of this board have jumpers for the LEDs, microphone and the MCP73831 charger.
What is the power consumption of the SparkFun Thing Plus - Artemis ?
No BLE Just a sketch that blinks an LED
Either powered by USB or a LiPo? (I'm not picky, just trying to get an idea)
I get that the Artemis is very low power -but still some other components that would draw energy
Out of the box, I've measured ~2.6mA, and the LED is most likely drawing ~1mA.