- Home
- Product Categories
- Robotics Kits
- Otto DIY Builder Kit


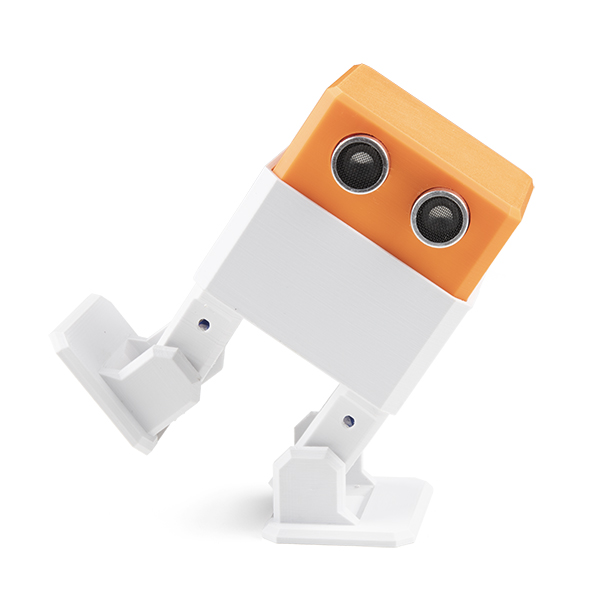
The Otto DIY Builder Kit is a perfect choice for both beginners and makers alike. Otto can walk, dance, make sounds gestures and avoid obstacles in this starter version but you can always upgrade, expand and customize with extra sensors and 3D printing. The Builder Kit is super easy to make, assemble and code and you have plenty software options from novice to advanced professional.
The Otto DIY Builder is the perfect STEM+A robot kit for parenting or school education and includes everything you need to run a STEM class at home. Get started with the basics of electronics, programming, and coding. No prior knowledge is necessary – the kit will guide you through exciting building, introducing basic robotics concepts and developing important 21st century skills, such as problem-solving and critical thinking.
The Otto DIY Builder Kit includes all hardware needed, free access to online learning content in Otto Academy, and dedicated full support, making it ideal for remote teaching, home schooling, and self-learning.
Note: Due to the ever changing, global supply chain issues, the color of the plastic parts inside this kit may vary upon availability.
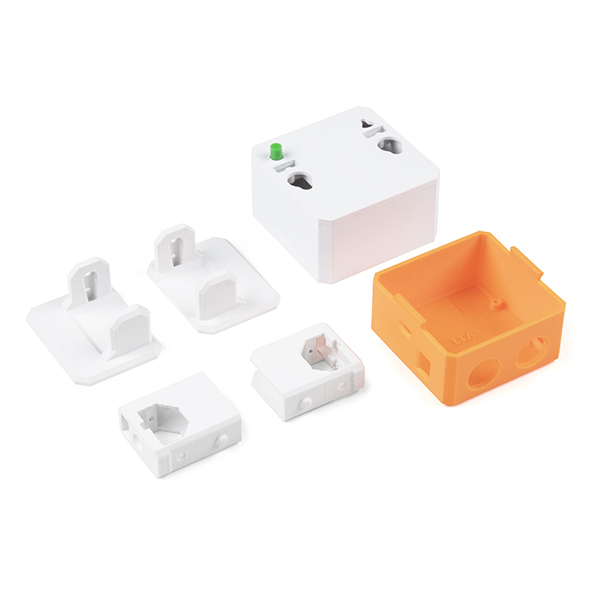
- Plastic robot enclosure (Color may vary upon availability)
- 1x Head
- 1x Body
- 2x Feet
- 2x Legs
- 4x nylon micro servo motors with set of screws.
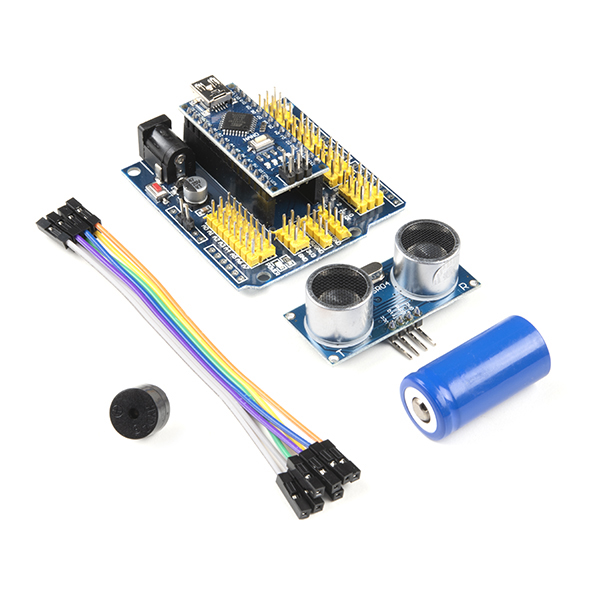
- Arduino Nano Microcontroller Board
- Arduino Nano I/O Shield
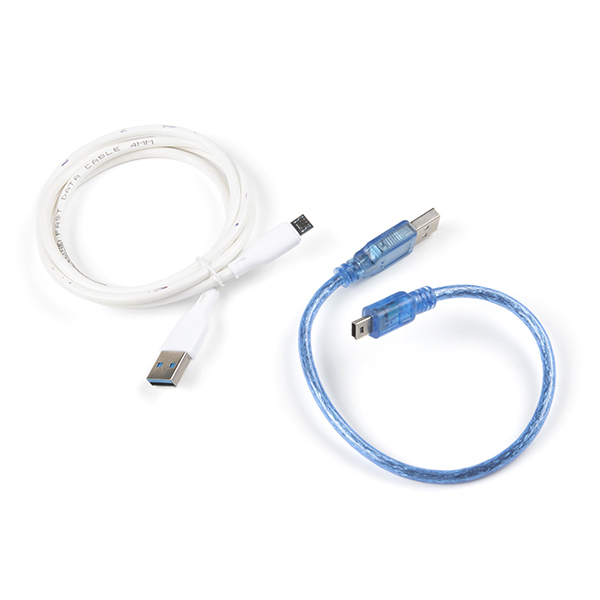
- USB cable
- Ultrasonic sensor
- Buzzer
- DuPont easy to connect cables F/F
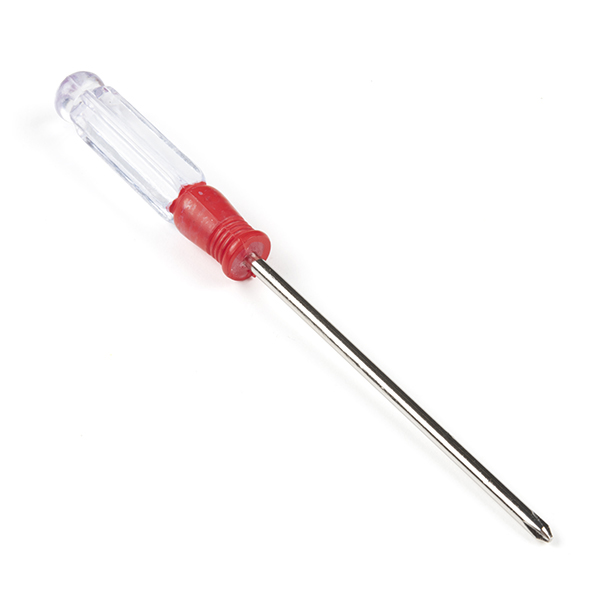
- Phillips screwdriver
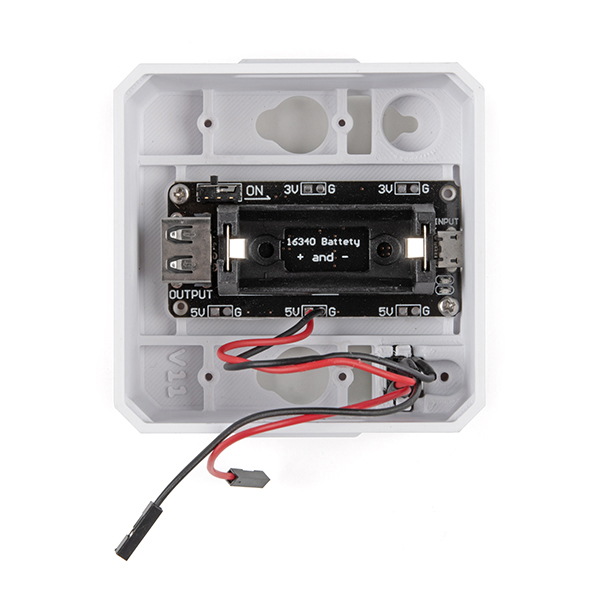
- Rechargeable battery with charger is already included!
- Printed Instruction Manual
Otto DIY Builder Kit Product Help and Resources
Core Skill: Robotics
This skill concerns mechanical and robotics knowledge. You may need to know how mechanical parts interact, how motors work, or how to use motor drivers and controllers.
Skill Level: Rookie - You will be required to know some basics about motors, basic motor drivers and how simple robotic motion can be accomplished.
See all skill levels
Core Skill: DIY
Whether it's for assembling a kit, hacking an enclosure, or creating your own parts; the DIY skill is all about knowing how to use tools and the techniques associated with them.
Skill Level: Rookie - Basic hand tools are required and instructions will allow more freedom. You may need to make your own decisions on design. If sewing is required, it will be free-form.
See all skill levels
Core Skill: Programming
If a board needs code or communicates somehow, you're going to need to know how to program or interface with it. The programming skill is all about communication and code.
Skill Level: Rookie - You will need a better fundamental understand of what code is, and how it works. You will be using beginner-level software and development tools like Arduino. You will be dealing directly with code, but numerous examples and libraries are available. Sensors or shields will communicate with serial or TTL.
See all skill levels
Core Skill: Electrical Prototyping
If it requires power, you need to know how much, what all the pins do, and how to hook it up. You may need to reference datasheets, schematics, and know the ins and outs of electronics.
Skill Level: Rookie - You may be required to know a bit more about the component, such as orientation, or how to hook it up, in addition to power requirements. You will need to understand polarized components.
See all skill levels
Comments
Looking for answers to technical questions?
We welcome your comments and suggestions below. However, if you are looking for solutions to technical questions please see our Technical Assistance page.
Customer Reviews
2.6 out of 5
Based on 5 ratings:
0 of 2 found this helpful:
Endless frustration, and still not working
I was familiar with Arduino from older projects, so I thought this would be a fun little kit to put together with my son. I still haven't gotten it working. A few problems: 1) The assembly directions are Ikea-level cryptic. There is an online set of instructions and a video, which I urge you to find (there's nothing in the box that suggests that there's more). These are crucial because, e.g., there are parts you actually have to cut to fit, and what you're supposed to do is completely obscure. 2) The 3D printing isn't particularly precise. I spent a lot of time filing pieces to fit. Like, a lot of time. The head is bowed in a way that means it won't snap on to the body. I had to cut down pieces further because they were blocking the cable channels. In addition to the included screwdriver, you'll want a pair of tweezers, a file, and some side-cutting pliers to get this together. 3) There are conflicting directions about calibrating the servos depending on which set of directions you look at. ("Move them to 90 degrees!" "Don't ever move them with your hands!" "It will work fine if you don't calibrate!" "Actually you should stop before you assemble this and upload this sketch to calibrate the servos") I can't say if this is actually necessary, as I still can't get it working. 4) Heads up, there is very little support for Macs. This kit does not include a bluetooth module, so you can't use the iOS app out of the box. If you have a mac you'll be dealing with Arduino's indifferent support for Macs, and then trying to get the online web editor working on top of that. Best I can tell, after an hour of debugging, it's also impossible to get this running on an M1 mac. And again, I used to do a bunch of programming on the Uno, so I at least have some sense of what might be fixed. If you have a mac and this is your first experience with an arduino, I wouldn't expect to ever get this running. 5) The base sketch blinks the nano's LED and also pulses pin 13. Since that's connected to the buzzer, when you plug this in you'll be greeted by an earsplitting series of beeps until you manage to upload a different sketch or (as I finally worked out) you disconnect the buzzer while you troubleshoot.
Finally, I should note that the first one of these they shipped didn't have the Arduino at all, though Sparkfun was champs about sending a replacement.
This has been a miserable experience. I should have picked a different option. I was leaning towards the BBC micro based bots, but my son thought Otto looked cute. But this is not an easy fun time with a kid. Pick something else.
The best opensource DIY robot for everyone!
I built the Otto robot with my niece and she absolutely loved it. There can be some challenging spots with the screws, but everything fits correctly and the instruction manual is easy to follow. All I needed was an additional scissor to use as the instructions had you clip two different plastic pins apart from it only one tool is needed to build. The screwdriver that came with the kit is magnetized so you can guide the screws. The quality and durability of the 3d printed parts is astonishing, it looks almost like plastic injected.
On the Academy page from the Otto website, we used the different open source libraries where we uploaded different dance codes and obstacles avoidance to try and get a feel for it. Even though I am not familiar with Arduino, Otto DIY has a very detailed guide of how to get started with C++ in a few quick steps and using our Mac computer. Just plug the usb cable that comes also in the box, install their libraries, and open one of the examples included like the Smooth Criminal dance routine, and it humorously times the song. So next, we’re going to choose our own song to time the robot to dance too.
We also used Otto Blockly online (they also have standalone version for Windows) and it makes things even easier specially for children, so I recommend it, if you are more of a beginner, this becomes easier because they already have the actions set as blocks that you just drag,drop and then upload the code. The number of sequences is endless that you can do and you can expand your robot possibilities with more sensors and actuators.
Next we want to do is to get a bluetooth module to add and be able to remote control Otto from their mobile App and for sure join their awesome Otto Builder community. It has lots of cool remixes of robots that inspire us to make new custom designs.
If you are looking for a robot to build at home or as a project to get into STEM, Otto DIY is a perfect place to start.
Not worth the cost, so look elsewhere.
Poorly planned and implemented. Legs and feet are extremely loose, so calibration is actually a moot point. Minimal directions provided, and those are inadequate. Online help is useless, as they have upgraded the controller board. Very unhappy with this, and will probably never order from SparkFun again. This is not the first issue I have had with their indiscretions.
Fun and Educational
Good thing I am resourceful and have underlying knowledge to rely on otherwise getting this project built and operational out of the box would have proved frustrating. One servo was inoperable out of the box. Good thing I had others on hand. Once built, calibrated and tested the bot seems to accept existing sketches and blocks from the IDE and blackly compiler/loaders. Hope my grandson likes it
You will need to buy about 25% more in my experience
This review is nothing against Sparkfun and nothing against the Otto program. I thiink highly of both organizations and this review is my opinion of the Builder kit which seems to be packaged in China and shipped as a whole to various distributors. I bought one of these last year (the maker kit) and printed my own robot and assembled it. Things went ok, there was some tweaking to do but nothing unexpected.
I then recommended these for a summer camp I was helping with and we purchased the Builder kit (they come with all the printed parts as well). We purchase a few extra just in case and I was glad I did. A few were missing the jumper wires, not a huge deal breaker for us, we had extra female to female jumpers but you can't expect most people to just have them laying around. A few had a bad servo, again, not a total deal breaker but we had extras on hand from previous Arduino lessons. The worst problem we ran into was 2 robots had a bad push button latching switch. In the Maker set, that wouldn't be a huge issue since you can pop it out and replace it but in these Builder sets, they evidently glued in the switch instead of using a servo horn to hold it in place. So for the two Ottos that had a bad switch, the entire base needed to be replaced and to make matters worse, you only realize the switch is bad at the last few steps of assembly so you need to disassemble the ENTIRE robot to replace the base. The kids were highly discouraged by then and I can't blame them.
I can't recommend these kits for class unless you are using steps to ensure each components works before assembling the robot and then even some of those components can't be easily replaced. We will probably be using the Maker kit or more likely another type of project entirely next summer.
Hello, this is Camilo, Otto founder and creator. This message pertains to one of the reviews which the customer was having some trouble shooting. So here to help!
1)The confusion is the specific product manual, as we have different one for Europe regarding the battery. You can access this here for the USA: https://drive.google.com/file/d/1zmrKVdIjd7sUfhe4txG1azYvQkTGDBw7/view?usp=sharing, this is also changed in document section with Sparkfun. We are working on a new video for this kit as well, but the principle is the same, just some details are slightly different.
2) As for the 3D printed parts, after your post we tested our additive manufactured 3D prints again and we didn’t have the issues you suggested. Would be great if you can send us photos via sales@ottodiy.com for the record. We are thinking it was from one bad print so more or less unlucky from asking others with the same prints. However, we are now checking the consistency here.and we can send you new replacements directly.
3) Calibrating the servors is a big topic and often confused with the crucial mechanical alignment of the gears, we have added a better step explanation here: https://docs.google.com/presentation/d/1THDvENVQcUQUiuR1XwC0KEPMfa5On3QNu9M6ggWMBzE/edit?usp=sharing
4) Regarding Mac, we are working to mitigate it, with a new standalone Otto Blockly or the online Chrome based version, but as you know, this is a common problem with Arduino products working for Mac that other products experience too. Arduino IDE should work based on your experience, you just need to add .zip the libraries and play with the examples we prepared. We do have a trouble shoot guide to help with Mac onboarding, which you can check out here: https://docs.google.com/presentation/d/1jh1YUd1DXlZO7h1t5rbZ6TVFUV2EXkUZw6Xn3NSr9KY/edit?usp=sharing
5) Lastly, the buzzer does make noise when starting as it’s set to show it works from the Arduino brain. But once you upload your first code, this buzzer functions corrects and stops beeping unless you program it to do so. Sparkfun told us they already sent the Arduino nano replacement, let us know how it goes.
Thanks again for letting us know regarding your troubleshooting. You will see the experience will be much smoother once you are set up. In the future you can also reach out to our community of builders that can help anyone who is having trouble with Otto for the first time. You can sign up here: https://builders.ottodiy.com/