- Home
- Product Categories
- 14-Segment
- SparkFun Qwiic Alphanumeric Starter Kit - Red and White


SparkFun Qwiic Alphanumeric Starter Kit - Red and White
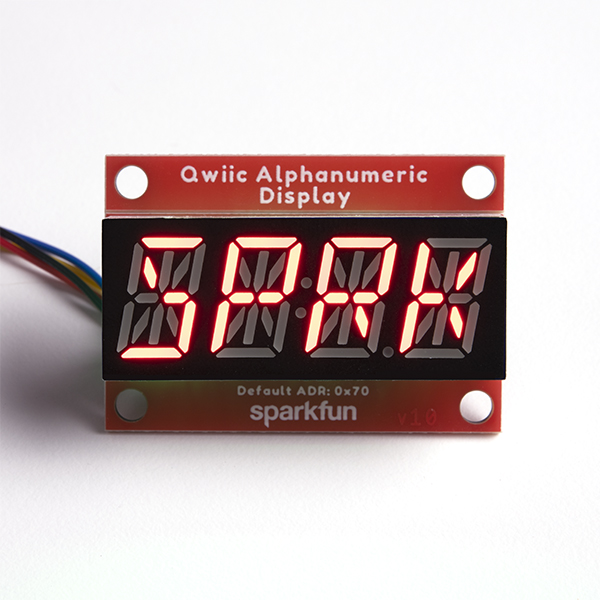
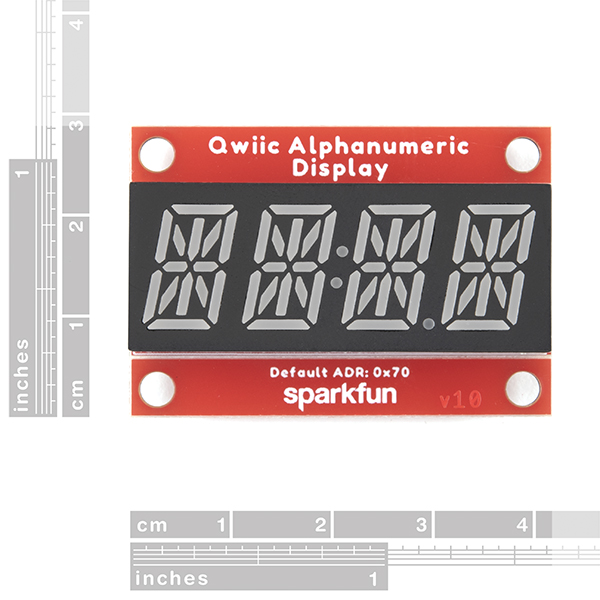
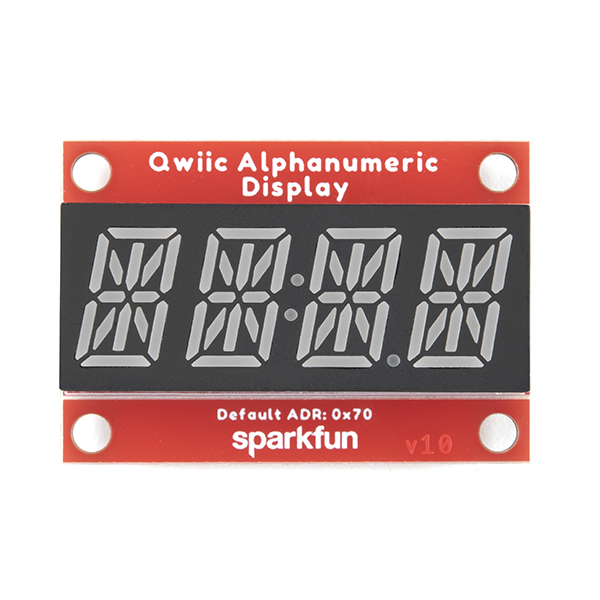
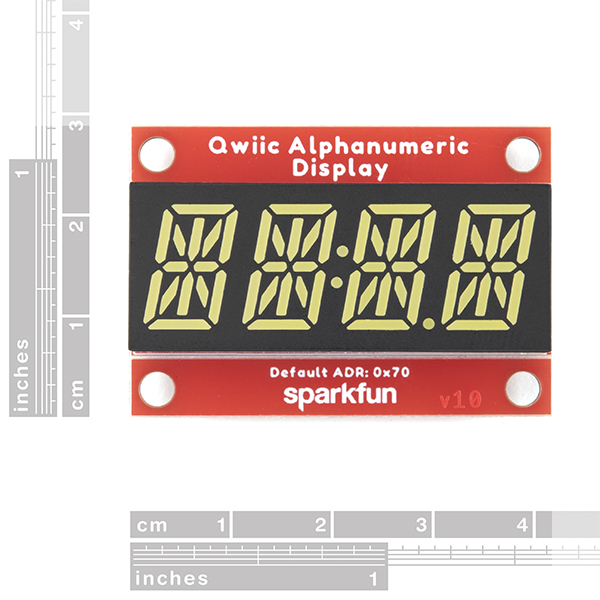
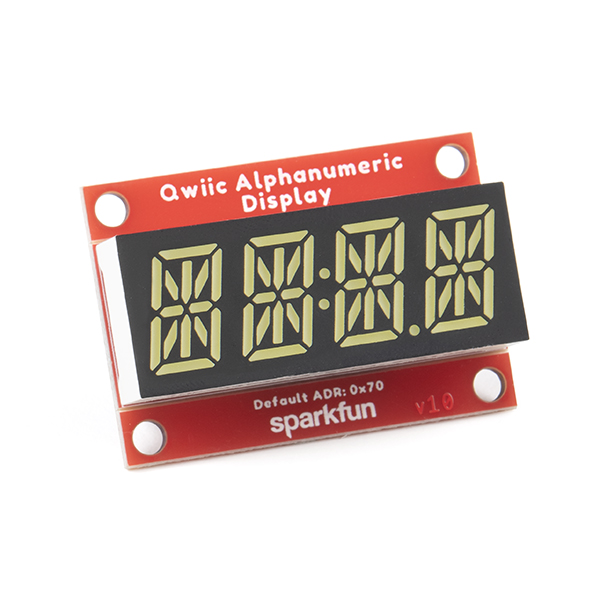
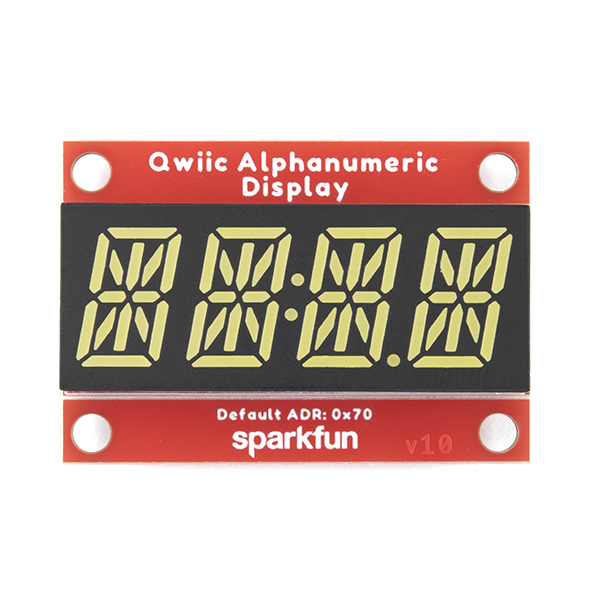
We are quite familiar with seven-segment displays. We see them on our alarm clocks, ovens, and microwaves. By adding more segments to each digit you can display more than just numbers! These fourteen-segment digits allow you to display all sorts of numbers, characters, and symbols. With Qwiic, simply plug it in and go. No soldering, no figuring out which is SDA or SCL, and no voltage regulation or translation required!
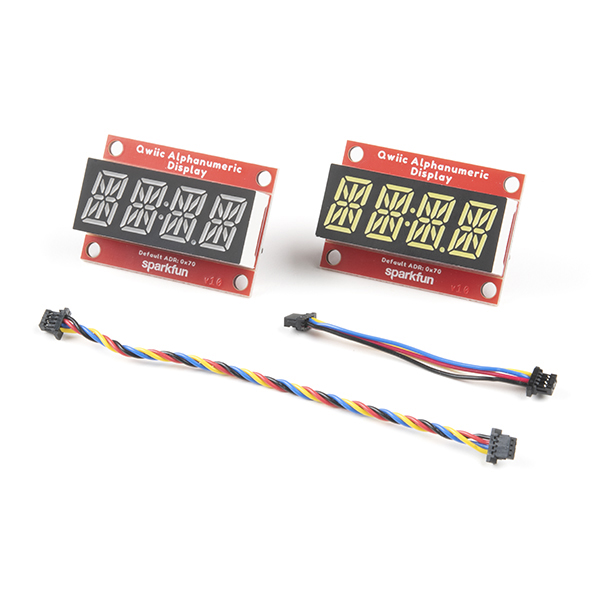
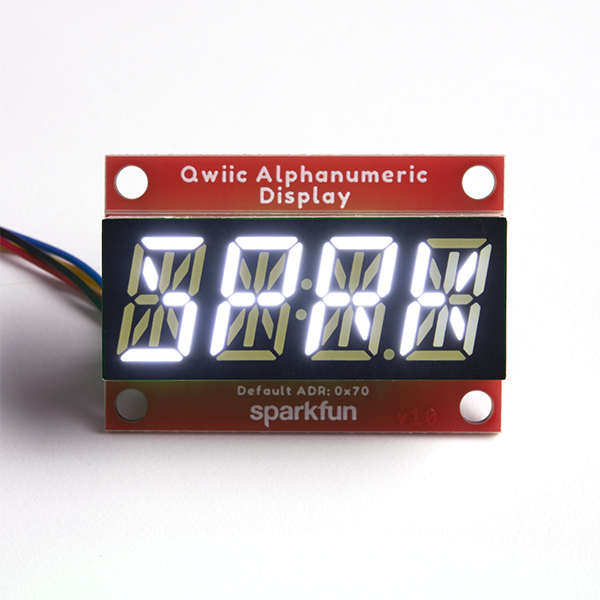
The SparkFun Qwiic Alphanumeric Starter Kit comes with two displays, one red and one white. Also included in this kit are 10 standoffs and screws for mounting as well as two Qwiic cables to get up and running as fast as possible. With a wide variety of Qwiic enabled microcontroller boards available we decided not to include one so you could choose the one that fits best with your current project needs. This is the only part you need to supply yourself, so be sure to check the Hookup Accessories below for some suggestions!
The SparkFun Alphanumeric Display Arduino library makes printing strings to the display as easy as calling the print() function. With this library, you'll be able to send I2C commands to the VK16K33 LED driver chip to light up segments (including the decimal point or colon) and even scroll your string across the display. You can download the library through the Arduino library manager by searching 'SparkFun Alphanumeric Display' or you can get the GitHub repo as a .zip file and install the library from there.
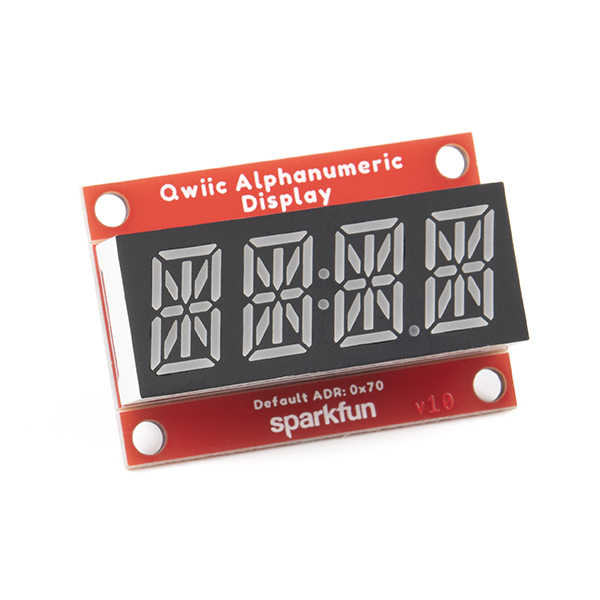
The VK16K33 also supports I2C address configuration. Simply close a combination of the address jumpers on the back and you can communicate with up to four displays on the same bus. Our slim board design also features detachable standoff holes, vertical Qwiic connectors, and internal mounting holes.
The SparkFun Qwiic Connect System is an ecosystem of I2C sensors, actuators, shields and cables that make prototyping faster and less prone to error. All Qwiic-enabled boards use a common 1mm pitch, 4-pin JST connector. This reduces the amount of required PCB space, and polarized connections mean you can’t hook it up wrong.
SparkFun Qwiic Alphanumeric Display Features
- Operating Voltage: 3.3V
- Integrated RC oscillator
- Maximum display segment numbers: 128 patterns
- 13×3 matrix key scan circuit
- 16-step dimming circuit
- I2C Addresses: 0x70 (0x71, 0x72, 0x73)
- 2x Qwiic connectors
- 2x Wall Mounting Points
SparkFun Qwiic Alphanumeric Starter Kit - Red and White Product Help and Resources
SparkFun Qwiic Alphanumeric Display Hookup Guide
October 21, 2021
A Hookup Guide to get you started with the Qwiic Alphanumeric Display.
Core Skill: DIY
Whether it's for assembling a kit, hacking an enclosure, or creating your own parts; the DIY skill is all about knowing how to use tools and the techniques associated with them.
Skill Level: Noob - Basic assembly is required. You may need to provide your own basic tools like a screwdriver, hammer or scissors. Power tools or custom parts are not required. Instructions will be included and easy to follow. Sewing may be required, but only with included patterns.
See all skill levels
Core Skill: Programming
If a board needs code or communicates somehow, you're going to need to know how to program or interface with it. The programming skill is all about communication and code.
Skill Level: Rookie - You will need a better fundamental understand of what code is, and how it works. You will be using beginner-level software and development tools like Arduino. You will be dealing directly with code, but numerous examples and libraries are available. Sensors or shields will communicate with serial or TTL.
See all skill levels
Core Skill: Electrical Prototyping
If it requires power, you need to know how much, what all the pins do, and how to hook it up. You may need to reference datasheets, schematics, and know the ins and outs of electronics.
Skill Level: Rookie - You may be required to know a bit more about the component, such as orientation, or how to hook it up, in addition to power requirements. You will need to understand polarized components.
See all skill levels
Comments
Looking for answers to technical questions?
We welcome your comments and suggestions below. However, if you are looking for solutions to technical questions please see our Technical Assistance page.
Customer Reviews
No reviews yet.