- Home
- Product Categories
- Monochrome
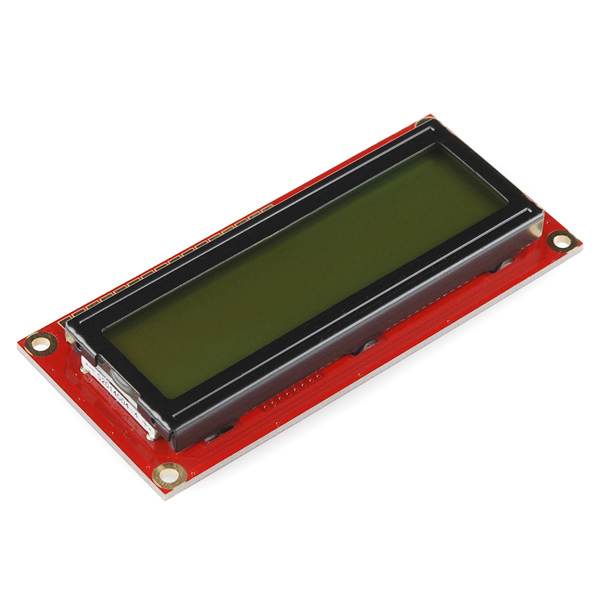
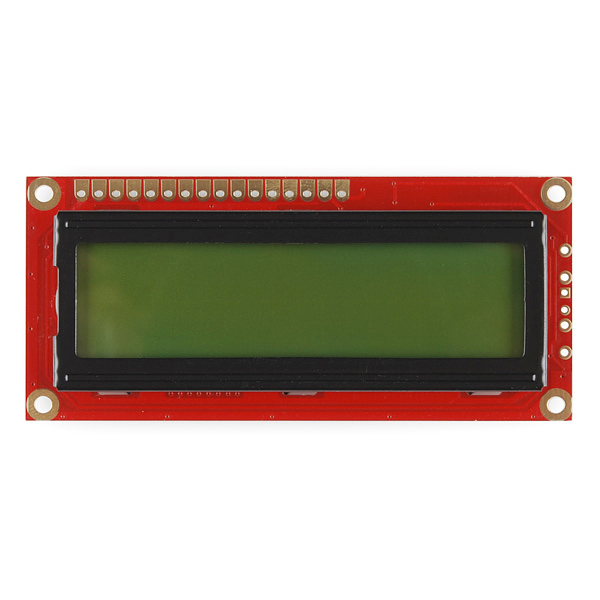
- Basic 16x2 Character LCD - Black on Green 5V

Basic 16x2 Character LCD - Black on Green 5V
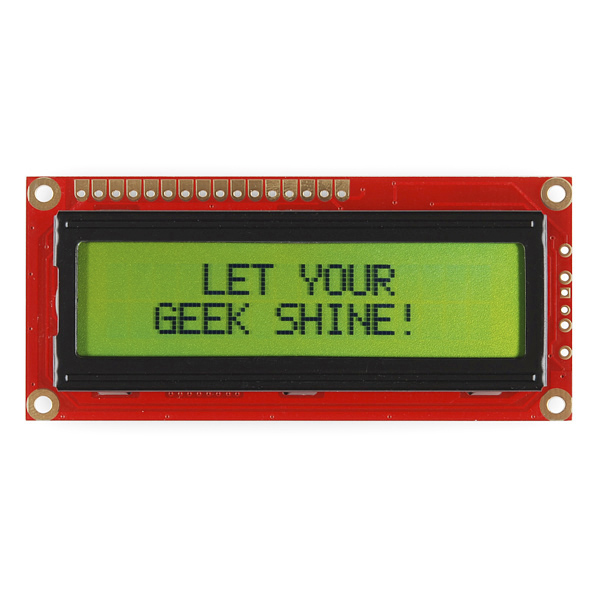
This is a basic 16 character by 2 line display. Black text on Green background. Utilizes the extremely common HD44780 parallel interface chipset (datasheet). Interface code is freely available. You will need ~11 general I/O pins to interface to this LCD screen. Includes LED backlight.
- 3.15" x 1.425"
Basic 16x2 Character LCD - Black on Green 5V Product Help and Resources
PIC-Based Serial Enabled Character LCD Hookup Guide
May 29, 2018
The PIC-based serial enabled character LCD backpack is a simple and cost effective solution for interfacing to character Liquid Crystal Displays (LCDs) based on the HD44780 controller. The backpack simplifies the number of wires needed and allows your project to display all kinds of text and numbers.
Basic Character LCD Hookup Guide
May 28, 2019
Liquid crystal displays (LCDs) are a great way to output a string of words or sensor data to a display for visual feedback. In this tutorial, we'll learn about LCDs, how to print a string of words to a 16x2 basic character LCD and create custom characters.
Core Skill: Soldering
This skill defines how difficult the soldering is on a particular product. It might be a couple simple solder joints, or require special reflow tools.
Skill Level: Noob - Some basic soldering is required, but it is limited to a just a few pins, basic through-hole soldering, and couple (if any) polarized components. A basic soldering iron is all you should need.
See all skill levels
Core Skill: Programming
If a board needs code or communicates somehow, you're going to need to know how to program or interface with it. The programming skill is all about communication and code.
Skill Level: Rookie - You will need a better fundamental understand of what code is, and how it works. You will be using beginner-level software and development tools like Arduino. You will be dealing directly with code, but numerous examples and libraries are available. Sensors or shields will communicate with serial or TTL.
See all skill levels
Core Skill: Electrical Prototyping
If it requires power, you need to know how much, what all the pins do, and how to hook it up. You may need to reference datasheets, schematics, and know the ins and outs of electronics.
Skill Level: Competent - You will be required to reference a datasheet or schematic to know how to use a component. Your knowledge of a datasheet will only require basic features like power requirements, pinouts, or communications type. Also, you may need a power supply that?s greater than 12V or more than 1A worth of current.
See all skill levels
Comments
Looking for answers to technical questions?
We welcome your comments and suggestions below. However, if you are looking for solutions to technical questions please see our Technical Assistance page.
Customer Reviews
4.5 out of 5
Based on 15 ratings:
1 of 1 found this helpful:
Works fine.
I have just used the 16x2 LCD display with the DG-5 emulator and it works fine. No problems whatsoever! I'd probably buy some more.
1 of 1 found this helpful:
LCD Display
Display works well; keeping it as a spare; using white on blue already on hand. 73's , Pedro
1 of 1 found this helpful:
I received and tested. Your product is really nice. This is what I exactly want it. Thanks for quick shipping and supporting.
1 of 1 found this helpful:
Works great
No complains. Easy to setup. Worked on the first try (I use an mbed board and the TextLCD library did all the work for me),
LCD Display
Display works well; keeping it as a spare; using white on blue already on hand. 73's , Pedro
very good, but you can make it better
i would NOT use the 16 x 2 lcd display without the 4-wire backpack addon !!!!
Functional as anticipated, especially with associated Arduino libraries. Bit disappointed this model does not have silkscreening that labels the pins, like other models out there I've seen available from other vendors. 4/5
Works great
Had it running very easily on a Arduino Uno. Setting it up on an ESP32 WROOM was a bit more challenging only because the ESP was picky about what pins I used to interface with. I think next time, I'll look into a I2C version or backpack for this version. But overall, it's a good device.
Quality LCD
Works as described. Great value for the price.
16x2 LCD
Great online tutorial Easy install Works well.
Works as advertised!
I learned much from this experience. It met my expectations.
A wonderful product, just don't forget the header!
I forgot when purchasing that this does not have pins on it to plug into a breadboard and I didn't have any headers at home. I cut the leads off of some rarely used resistors and soldered them in for this. Not exactly how it was meant to be done, I don't think, but it worked for me!
Of all the Basic 16x2 Character LCD's I've owned...
This the the one.
Works as described. Gave me an excuse to visit the new Sparkfun building. Very nice!
Utility LCD Display
These units are useful in custom instrumentation products that I occasionally devise. I use a 4 bit address scheme to save pinout from the 8 bit uP for which I write assembler code. I find that the illuminated black text on green background is the most sunlight readable.
These latest received displays are being used in field fire pump flow testing prototype applications and obviously need effective water and shock proofing as do the electronics driving them. If this small-market unit does go into limited production I will likely stick with this display as standard.
Bought this one and it was perfect for what I wanted. Basic inexpensive LCD that worked great with the Arduino.
Any tips on getting the 4.2V for the backlight? A simple voltage divider circuit isn't ideal because the load from the backlight.
Is 5V gonna kill the backlight?
Use a limit resistor to drop voltage to the backlight. Use this equation RLIMIT = (VBACKLIGHT – 4.2V) / 0.12A.
Found at this website. http://www.pololu.com/catalog/product/772
Late reply is late, but from the datasheet the max supply voltage for the backlight is 4.6V
Yea, don't make my mistake by using 5 Volts :(
Bump
This was very easy to use with an arduino; if you are interested I have written a tutorial on how to do so:
http://tronixstuff.wordpress.com/2010/04/15/getting-started-with-arduino-chapter-two/
The easiest way would be to stick a transistor inline with the power lead of the lcd and turn it off just before the cpu goes into the low power state.
-Mike
This product worked great. I wrote a tutorial about manually writing data to the display using dips switches and push buttons. http://volatileinterface.com/2015/05/30/using-a-hd44780-lcd-display-in-4-bit-mode/
Completely useless, I have no idea what happened but when I wire it up according to the tutorial on arduinos site for the Hello World! LCD program, nothing but the backlight comes on. Also the pins are flipped from where they are in the schematic. Total cluster fuck of a product. EDIT: So apparently the product works fine, and I apologize to all those at sparkfun. I should be on the arduino forums tell them that the tutorial is a cluster F**k and not this item. for those who had the same problem, you have to connect pin 15 Vin and pin 16 to GND, everything on the tutorial is correct.
Does anyone know about the six extra pins on the right side
I just realized I forgot the bridge connections over the cnter of the breadboard to actually connect the data lines to the LCD. It works now I think I need to adjust the contrast or something. The text on the display is more visible when looking at the display from an angle.
I just bought this and thought it had the HD44780 chipset but now I started looking at the datasheet for the pin interface descriptions and I realize that it has the KS006U chipset? Is the datasheet wrong or is the sparkfun description wrong? Or maybe they are basically the same chipset? I'm confused right now. Do I need to buy a different LCD? Steve
HD44780 is more a standard that a chipset at this point. there are tons of different chipsets that use the same protocols. like how people say "allen wrench" instend of saying hex key. HD44780 is the LCD equivilent of X86 instruction set. the cool think is you can lean how to use the 16x2, and then use the same code on everything from 8x1 to 40x4 displays.
Can be found for less than 3 $ incl. shipping on Ebay: http://i.imgur.com/PReQE.png
Search "16x2 LCD" and tick "Worldwide shipping", "Buy it now", and select "Price + shipping: lowest first".
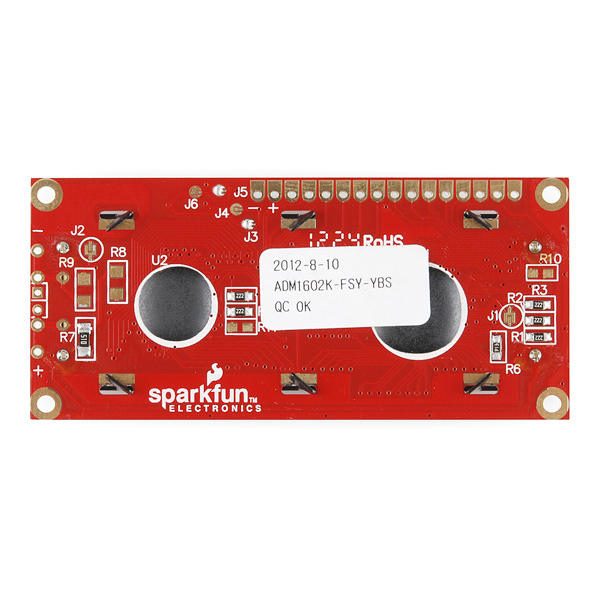
What if: You purchased this part, the item received is a red sparkfun pcb, and the sticker on the back reads: ADM1602k-FSY-YBS/Z. Plugged 5V into it according to the example code within the arduino IDE, and one of the LCD drivers burned up. (the larger circle).
I'm trying to figure this out, but I can't verify that the board is actually supposed to take 5V or 3.3V. Maybe next revision should have this printed on the pcb :0)
Thanks for any help
Totally agree! SFE, can you please print the voltage on the PCB? Otherwise, there's no way to tell the 5v and 3.3v boards apart by looking at them, except for the inspection sticker (assuming you haven't removed them).
New to LCDs? Use the LCD 16x2 simulator availavle here:
http://www.bobtech.ro/tutoriale/componente-electronice/57-lcd-16x2-simulator
You can simulate data on each pin of the HD44780 compatible LCD and see how it works, or if you are more advanced you can write directly your own scripts in the web browser to control the LCD, same as you would use them in the MCU code
if somebody wants a good tutorial how to interface this lcd to a microcontroller visit this link
for microchip pic mcu http://www.circuitvalley.com/2011/09/hd44780-16x2-char-lcd-interfacing-with.html
for TI MSP430 microcontroller http://www.circuitvalley.com/2011/12/16x2-char-lcd-with-ti-msp430-launch-pad.html
hi if sombody want a good tutorial on how to interface this lcd to diffrent microcontoller visit this link
with TI MSP430 Microcontroller http://www.circuitvalley.com/2011/12/16x2-char-lcd-with-ti-msp430-launch-pad.html
with microchip pic micrcontroller http://www.circuitvalley.com/2011/09/hd44780-16x2-char-lcd-interfacing-with.html
When will these be in stock?
Hopefully very soon!
Is there a flat cable assembly available for these? I'm OK using the 0.1" headers, but the electronics I need to hook up requires a cable interconnect. And I'd like it so that I can replace the LCD without desoldering it.
I?m considering using this in a battery powered device that will experience long periods of inactivity. During the inactive periods all system components will enter a low power stand-by or sleep state. This display does not appear to have a low power (uA) state.
The Kent display has a low power state but it?s two large for my application. Does anyone know of a LCD display with a low power state?
This is a very late response, but anybody in this situation can simply connect the LCD in series with a MOSFET. YOu can then switch the LCD on and off from a microcontroller. Remember to leave all the microcontroller outputs floating because power can still flow into the LCD if you keep these in certain states.
make sure the power for the LCD, LED and Contrast are switched by the mosfet.
works great! still trying to figure out a good way to mount it though...Any Suggestions?
Hi,
There are four mounting holes to use. I would recommend you figure a way to tie into those.
Totally useless product